Hyundai Tucson: Front Axle Assembly / Front Hub / Knuckle / Tone Wheel Repair procedures
| Removal |
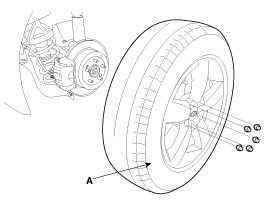
| 1. |
Remove the front wheel and tire (A) from front hub .
|

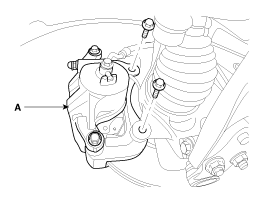
| 2. |
Remove the brake caliper mounting bolts, and then place the brake caliper assembly (A) with wire.
|
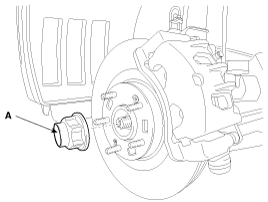
| 3. |
Remove the coking nut (A).
|
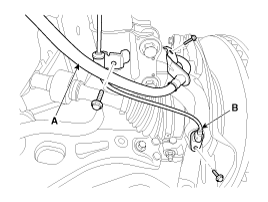
| 4. |
Remove the brake hose (A) and wheel speed sensor (B).
|
| 5. |
Remove the tie rod end ball joint (C) from the knuckle.
|
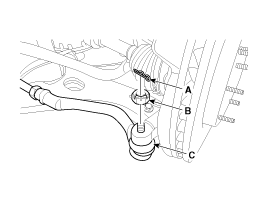
| 6. |
Remove the lower arm (A) mounting bolt and nut from the knuckle.
|
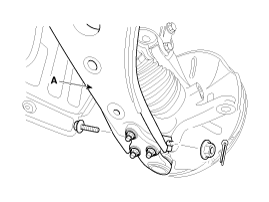
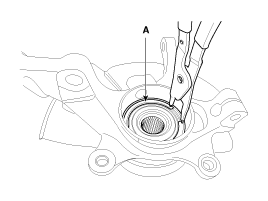
| 7. |
Loosen the strut mounting bolts (A) and then remove the hub and knuckle assembly from the strut assembly (B).
|

| 8. |
Install in the reverse order of removal.
|

| 9. |
Check the front alignment.
(Refer to Suspension System - "Front Alignment") |
| Inspection |
| 1. |
Check the hub for cracks and the splines for wear. |
| 2. |
Check the brake disc for scoring and damage. |
| 3. |
Check the knuckle for cracks |
| 4. |
Check the bearing for cracks or damage. |
| Disassembly |
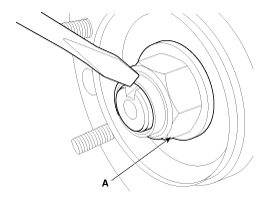
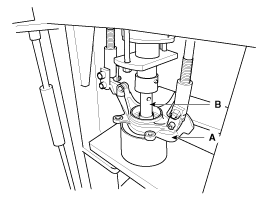
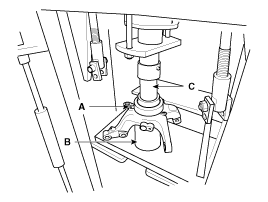
| 1. |
Using the snap ring pliers, remove the snap ring (A).
|
| 2. |
Remove the hub assembly from the knuckle assembly.
|
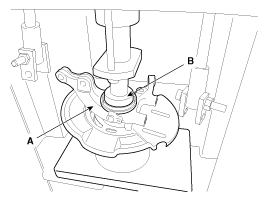
| 3. |
Remove the dust cover (A).
|
| 4. |
Remove the hub bearing inner race from the hub assembly
|
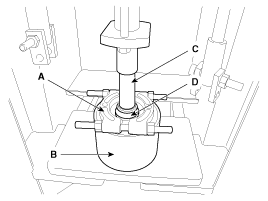
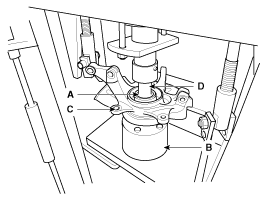
| 5. |
Remove the hub bearing outer race from the knuckle assembly.
|
| 6. |
Replace hub bearing with a new one. |
| Reassembly |
| 1. |
Install the dust cover (A).
|
| 2. |
Install the hub bearing to the knuckle assembly.
|
| 3. |
Install the hub assembly to the knuckle assembly.
|
| 4. |
Install the snap ring (A).
|
 Front Hub / Knuckle / Tone Wheel Components and Components Location
Components
1. Split pin2. Driveshaft nut 3. Brake disc4. Hub5. Wheel bearing6. Snap ring7. Dust cover8. Knuckle9. Driveshaft
...

Other information:
Hyundai Tucson (LM) 2010-2015 Service Manual: Components and Components Location
Component Location
x Button start type : Front windshield deicer, Rear glass
defogger and outside mirror heater functions are joined together one
switch.x General key type : Front windshield deicer switch is located in left air vent separately.
1. Windshield deicer relay2. Windshield ...
Hyundai Tucson (LM) 2010-2015 Service Manual: Steering Angle Sensor Description and Operation
Description
The Steering Angle Sensor (SAS) is installed in EPS (Electric
Power Steering) and it sends messages to HECU through CAN communication
line.
The SAS is used to determine turning direction and speed of the steering wheel.
The HECU uses the signals from the SAS when performing ESP- ...
