Hyundai Tucson: Cruise Control System / Cruise Control Switch Repair procedures
| Removal and Installation |
| 1. |
Disconnect the battery negative terminal. |
| 2. |
Remove the driver airbag module.
(Refer to Restraint - "Driver Airbag (DAB) Module and Clock Spring") |
| 3. |
Remove the steering wheel.
(Refer to Steering System - "Steering Column and Shaft") |
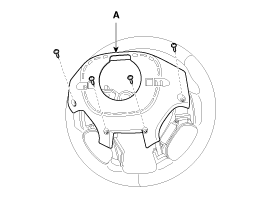
| 4. |
Remove the steering wheel cover (A) after loosening the screws.
|
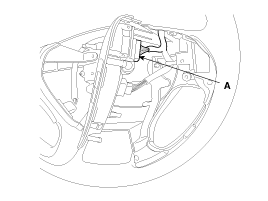
| 5. |
Disconnect the cruise control switch connector (A).
|
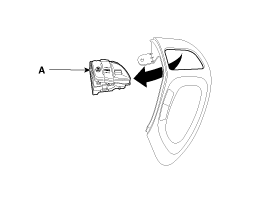
| 6. |
Remove the cruise control switch (A).
|

| 7. |
Installation is reverse order of removal. |
| Inspection |
| 1. |
Disconnect the cruise control switch connector from the control switch.
|
| 2. |
Measure resistance between terminals on the control switch when each function switch is ON (switch is depressed).
|
| 3. |
If not within specification, replace switch. |
| 1. |
Connect the cruise control switch connector to the control switch.
|
| 2. |
Measure voltage between terminals on the harness side connector when each function switch is ON (switch is depressed).
|
| 3. |
If not within specification, replace switch. |
 Cruise Control Switch Schematic Diagrams
Circuit Diagram
...

Other information:
Hyundai Tucson (LM) 2010-2015 Service Manual: Output Speed Sensor Description and Operation
Description
The Output Speed Sensor is a vital unit that measures the
rate of rotation of the transmission's turbine shaft and output shaft,
and delivers the readings to the TCM.
The sensor provides critical input data that's used in
feedback control, damper clutch control, g ...
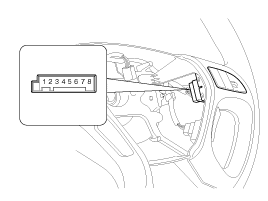
Hyundai Tucson (LM) 2010-2015 Owners Manual: Vehicle identification number (VIN)
The vehicle identification number (VIN) is the number used in registering your
car and in all legal matters pertaining to its ownership, etc.
The number is punched on the floor under the passenger seat. To check the number,
open the cover.
The VIN is also on a plate attached to the top of ...
