Hyundai Tucson: Tire Pressure Monitoring System / TPMS Receiver Repair procedures
| Replacement |
When the receiver first arrives for replacement:
|

It is important to make sure that the correct receiver is
used to replace the faulty part i.e. it must be Low Line and not High
Line in order to have the correct inflation warning thresholds set. |

| 1. |
Disconnect vehicle battery. |
| 2. |
Remove the glove box.
(Refer to Body - "Crash Pad") |
| 3. |
Remove faulty part and fit bracket assembly to new part.
|
| 4. |
Secure new part to vehicle and fit connector. |
| 5. |
Re-connect battery and turn Ignition on. |
| 6. |
Check that TREAD Lamp flash rate matches Virgin State indication. |
| Adjustment |
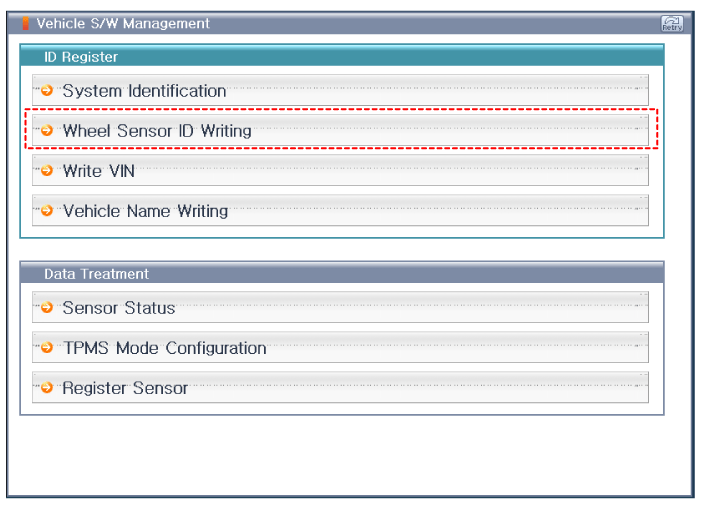
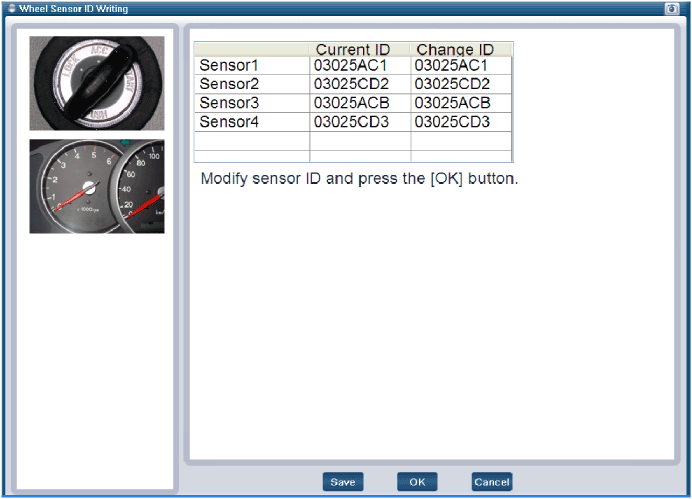
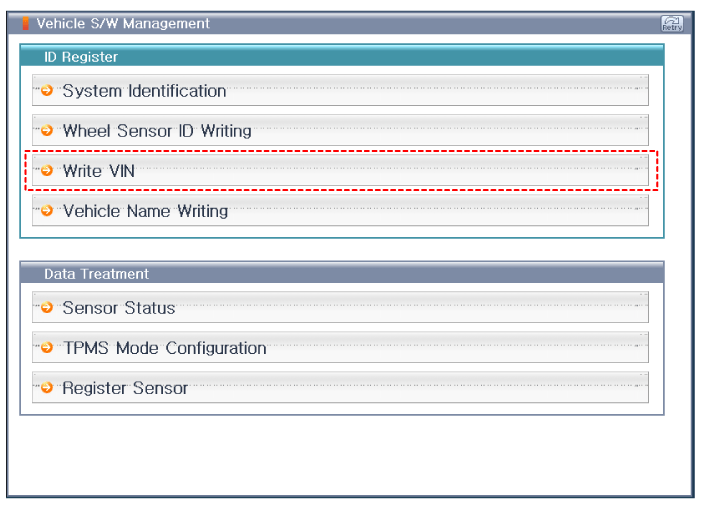
| Diagnosis procedure by using diagnostic device |
| 1. |
Connect self-diagnosis connector(16pins) located in the lower
of driver side crash pad to self-diagnosis device, and then turn the
self-diagnosis device after key is ON. |
| 2. |
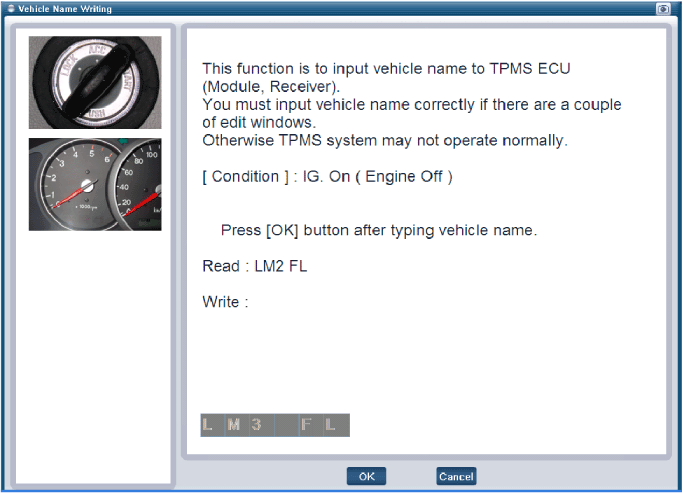
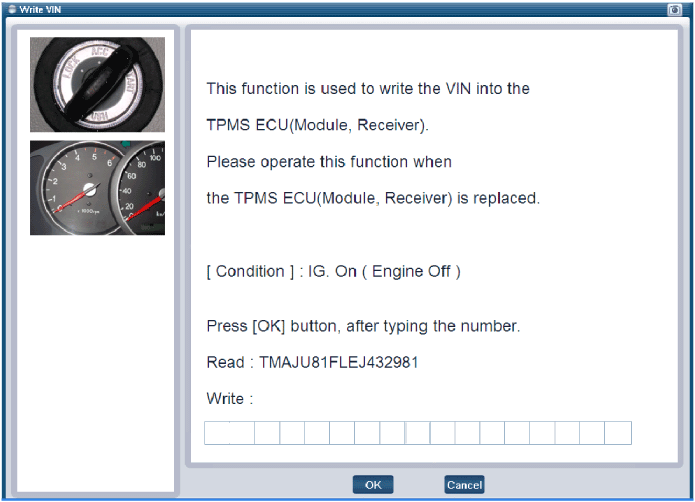
Select the "vehicle model" and "TPMS" on GDS vehicle selection screen, then select OK.
[Sensor ID Writing]
[Vehicle name input initialization]
[VIN input initialization]
|
 TPMS Receiver Schematic Diagrams
Schematic diagram
Connector Information
PinDescription1Battery2CAN_High3GND4-5-6-7IGN8CAN_Low9-10-11-12-
...
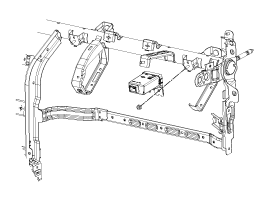
 Steering System
...
Other information:
Hyundai Tucson (LM) 2010-2015 Owners Manual: Rear seats
Seatback angle
To recline the seatback:
1. Pull up the seatback lever.
2. Hold the lever and adjust the seatback to the position you desire.
3. Release the lever and make sure the seatback is locked in place.
(The lever MUST return to its original position for the seatback to lock.)
Foldin ...
Hyundai Tucson (LM) 2010-2015 Service Manual: Camshaft Position Sensor (CMPS) Description and Operation
Description
Camshaft Position Sensor (CMPS) is a hall sensor and detects the camshaft position by using a hall element.
It is related with Crankshaft Position Sensor (CKPS) and
detects the piston position of each cylinder which the CKPS can't
detect.
The CMPS is installed on engine head cov ...
